

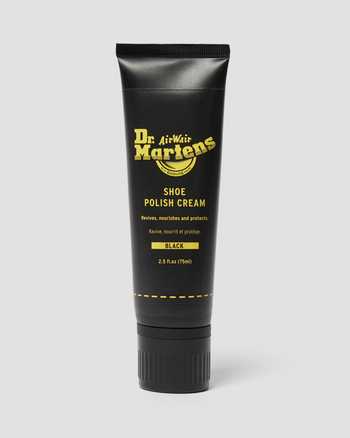
BOOT DOCTOR TIP: DM’s SHOE POLISH CAN BE USED ON MOST SMOOTH LEATHERS. TEST ON A SMALL CORNER OF THE LEATHER IF YOU’RE UNSURE.
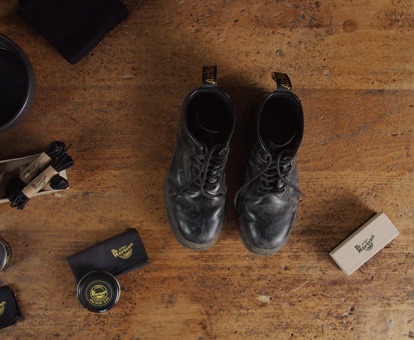
STEP 1: GROUNDWORK
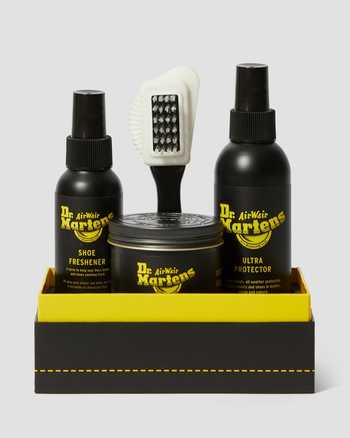
Before you get started, it’s worth putting a bit of newspaper down to avoid any unwanted black marks. Then: assemble your kit. Polishing your boots doesn’t take much. All you need is a couple of cloths, some water, a shoe brush and a tub of Shoe Polish. It shouldn’t take more than 20 minutes.

STEP 2: REMOVE DIRT
Your boots will probably need a bit of clean before you can get polishing. Give them a good wipe with a damp cloth. Remove your shoelaces and clean them separately, then dry your boots with a different cloth.
BOOT DOCTOR TIP: BANG YOUR BOOTS TOGETHER A COUPLE OF TIMES TO REMOVE ANY EXCESS MUD.
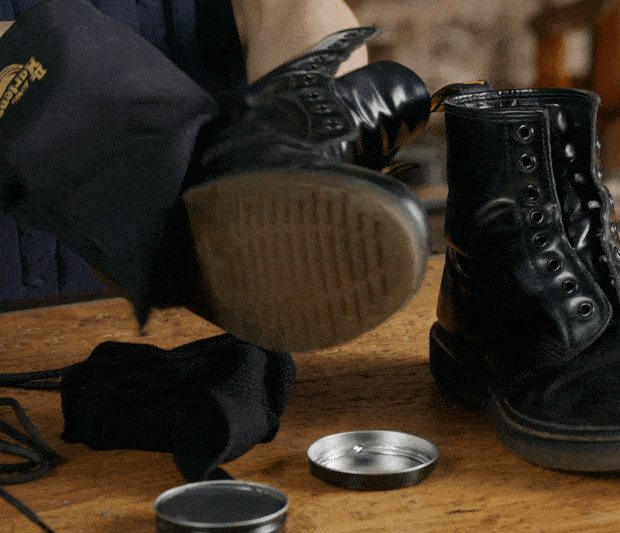
STEP 3: GET STUCK IN
Scoop some polish out with a dry cloth, and apply a thin layer all over the boot, including the tongue. Pay attention to any scuffs, scratches or marks, and ensure you get a good, even coating. Wipe off any excess with a cloth.
BOOT DOCTOR TIP: YOU CAN APPLY MULTIPLE COATINGS IF YOUR BOOTS HAVE REALLY BEEN THROUGH IT. BUT LET THE FIRST ONE DRY FIRST.

STEP 4: BUFF TO SHINE
If you want your boots to have a sharp shine, grab your brush and get buffing. If not, you can skip this stage. Then leave the boots to dry for a few minutes, and re-lace them. Why not try a new pair of laces to really bring them back to life?
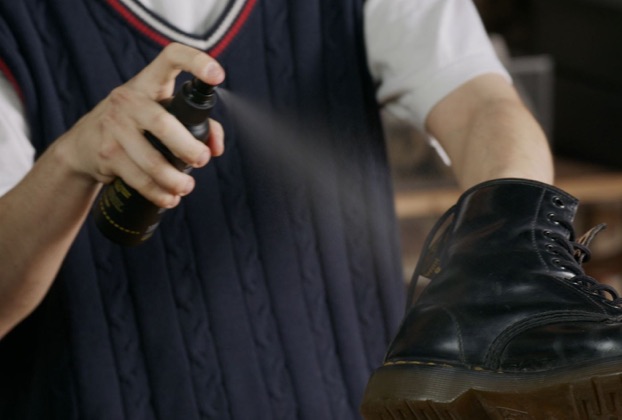
STEP 5: FINISHING TOUCHES
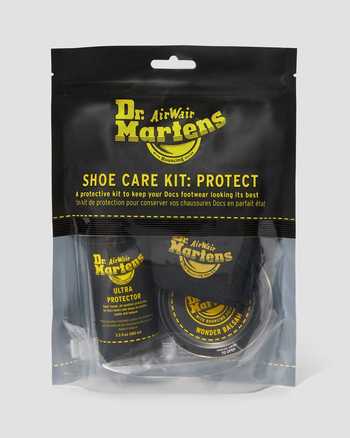
You're almost there. All that’s left are a few optional last touches. You can give your newly-polished boots a quick spray with Dr. Martens Ultra Protector for an added layer of protection. Or a squirt of Dr. Martens Shoe Freshener to remove any odours. And there you have it: your boots should be looking back to their best. Now to scuff them up again.
BOOT DOCTOR TIP: GRAB THE POLISH WHENEVER YOUR BOOTS ARE LOOKING A BIT ROUGH AROUND THE EDGES. THE MORE OFTEN, THE BETTER.

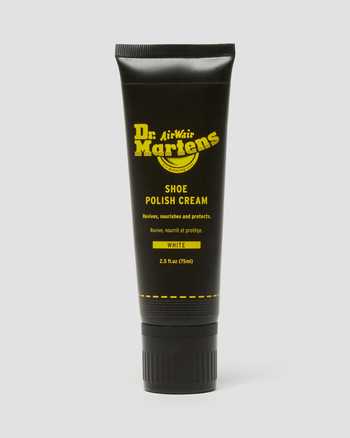
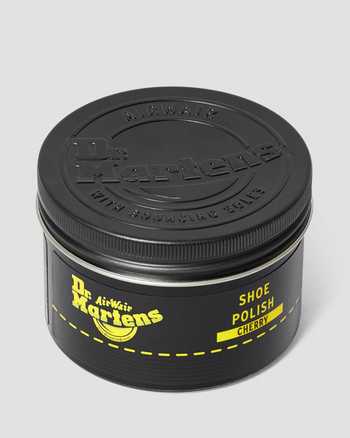
DR. MARTENS SHOE POLISH
New look, same product. Coming with a sponge nozzle for simple application, our new Shoe Polish Tubes are built to restore, protect and rejuvenate in three colours: Black, Cherry Red and Neutral.


WITH A LITTLE BIT OF CARE, THEY’LL LAST EVEN LONGER

HOW TO WEATHER-PROOF YOUR FOOTWEAR
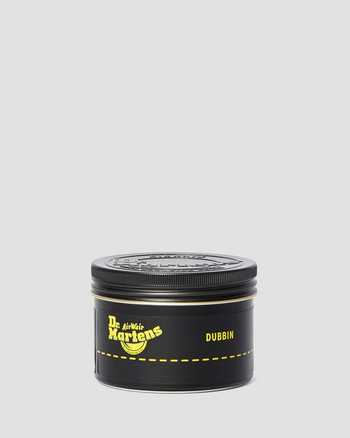
Our Dubbin Wax rejuvenates waxed and oiled leathers, and adds a water-resistant layer of protection. Here the Boot Doctor shows you how to use it.
Our Dubbin Wax rejuvenates waxed and oiled leathers, and adds a water-resistant layer of protection. Here the Boot Doctor shows you how to use it.

HOW TO PROTECT YOUR FOOTWEAR
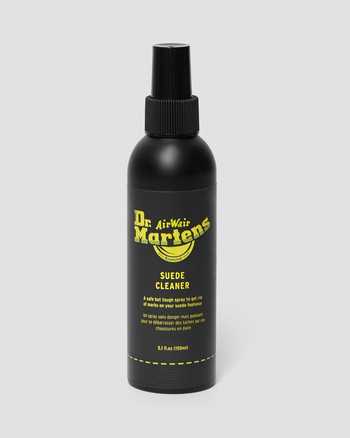
Create a layer of protection against scuffs and other wear and tear. Our Ultra Protector Spray can be used on leather, suede, nylon or canvas.
Create a layer of protection against scuffs and other wear and tear. Our Ultra Protector Spray can be used on leather, suede, nylon or canvas.

HOW TO CARE FOR SUEDE FOOTWEAR
A bit of sprucing up will keep them looking fresh. Learn how to restore your suede shoes and boots to their former glory.
A bit of sprucing up will keep them looking fresh. Learn how to restore your suede shoes and boots to their former glory.
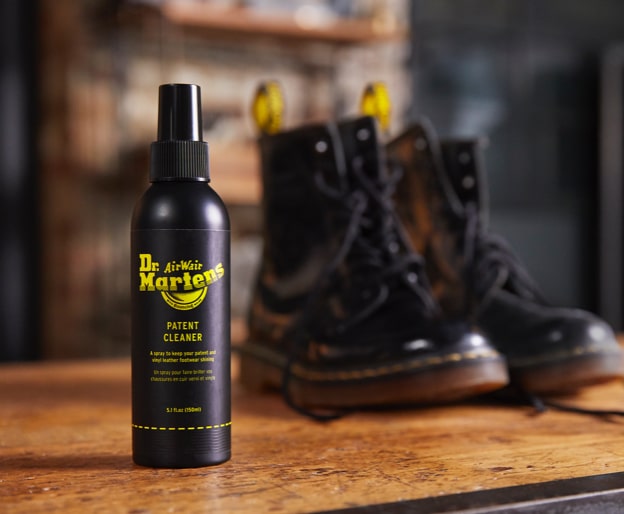
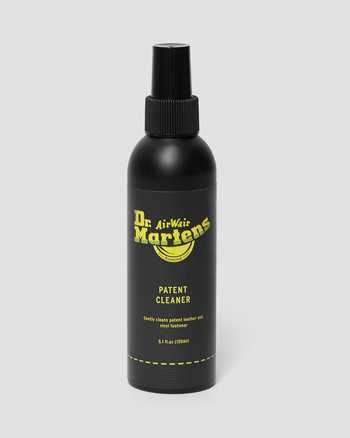
HOW TO CLEAN PATENT LEATHER
It’s never too late to get that brilliant shine back. Our Patent Cleaner is specially formulated for use on Docs patent leathers. Here’s how to use it.
It’s never too late to get that brilliant shine back. Our Patent Cleaner is specially formulated for use on Docs patent leathers. Here’s how to use it.

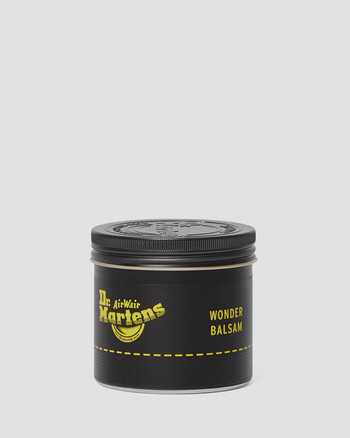
HOW TO USE WONDER BALSAM
Bring smooth or waxy leathers back to their best. Our Wonder Balsam nourishes and rejuvenates, with no shine and no polishing required.
Bring smooth or waxy leathers back to their best. Our Wonder Balsam nourishes and rejuvenates, with no shine and no polishing required.