BOOT DOCTOR TIP: DM’s SHOE POLISH CAN BE USED ON MOST SMOOTH LEATHERS. TEST ON A SMALL CORNER OF THE LEATHER IF YOU’RE UNSURE.
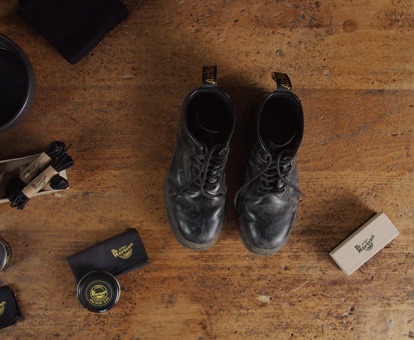
STEP 1: GROUNDWORK
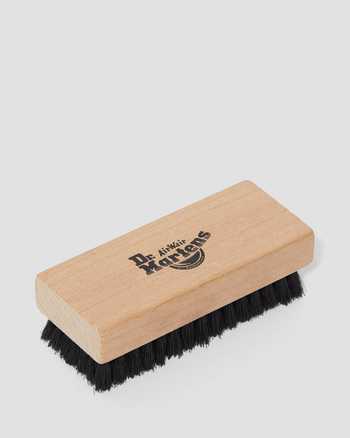
Before you get started, it’s worth putting a bit of newspaper down to avoid any unwanted black marks. Then: assemble your kit. Polishing your boots doesn’t take much. All you need is a couple of cloths, some water, a shoe brush and a tub of Shoe Polish. It shouldn’t take more than 20 minutes.
STEP 2: REMOVE DIRT
Your boots will probably need a bit of clean before you can get polishing. Give them a good wipe with a damp cloth. Remove your shoelaces and clean them separately, then dry your boots with a different cloth.
BOOT DOCTOR TIP: BANG YOUR BOOTS TOGETHER A COUPLE OF TIMES TO REMOVE ANY EXCESS MUD.
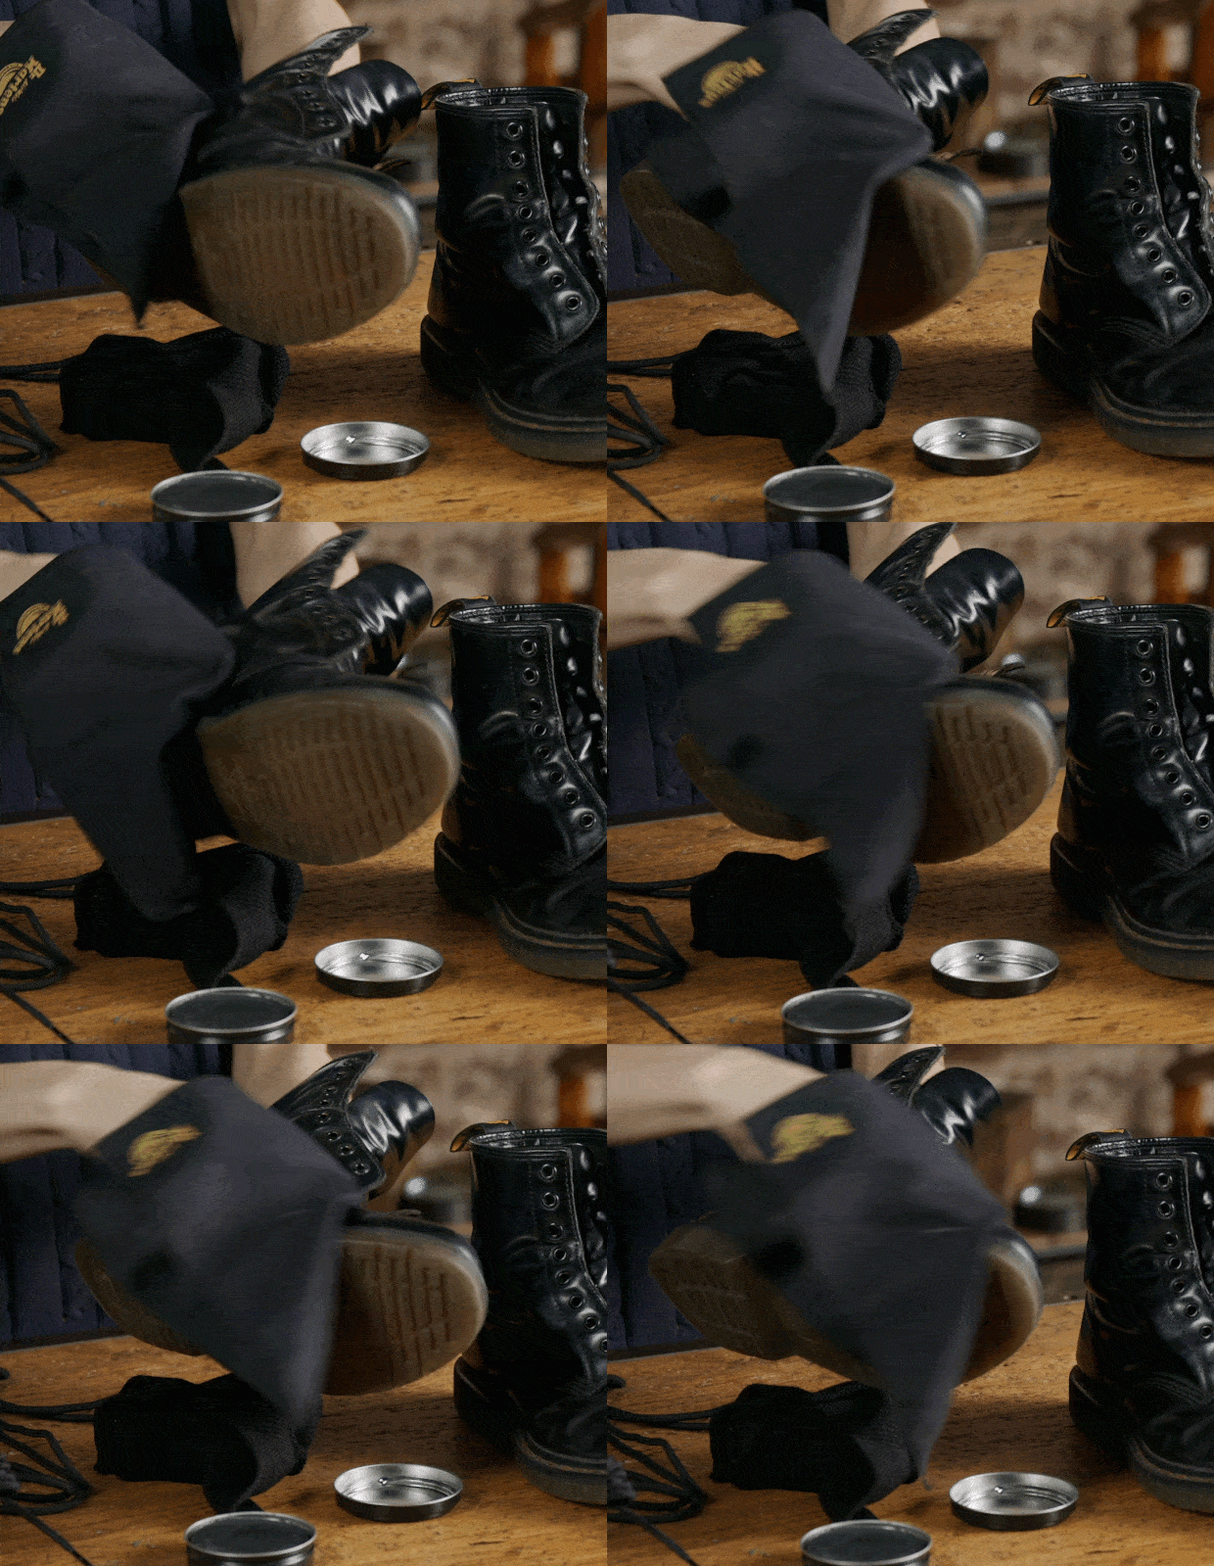
STEP 3: GET STUCK IN
Scoop some polish out with a dry cloth, and apply a thin layer all over the boot, including the tongue. Pay attention to any scuffs, scratches or marks, and ensure you get a good, even coating. Wipe off any excess with a cloth.
BOOT DOCTOR TIP: YOU CAN APPLY MULTIPLE COATINGS IF YOUR BOOTS HAVE REALLY BEEN THROUGH IT. BUT LET THE FIRST ONE DRY FIRST.
STEP 4: BUFF TO SHINE
If you want your boots to have a sharp shine, grab your brush and get buffing. If not, you can skip this stage. Then leave the boots to dry for a few minutes, and re-lace them. Why not try a new pair of laces to really bring them back to life?
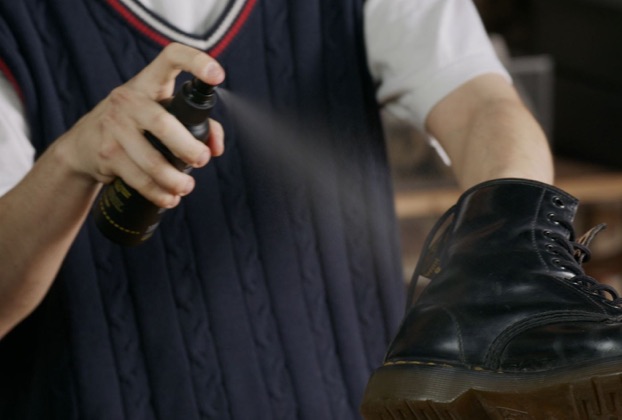
STEP 5: FINISHING TOUCHES
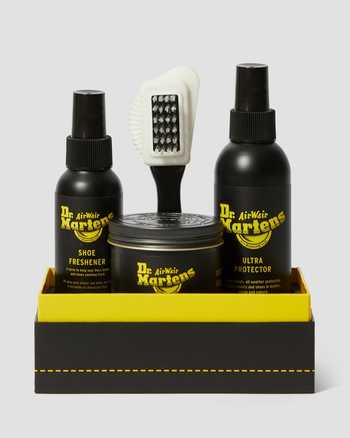
You're almost there. All that’s left are a few optional last touches. You can give your newly-polished boots a quick spray with Dr. Martens Ultra Protector for an added layer of protection. Or a squirt of Dr. Martens Shoe Freshener to remove any odours. And there you have it: your boots should be looking back to their best. Now to scuff them up again.
BOOT DOCTOR TIP: GRAB THE POLISH WHENEVER YOUR BOOTS ARE LOOKING A BIT ROUGH AROUND THE EDGES. THE MORE OFTEN, THE BETTER.
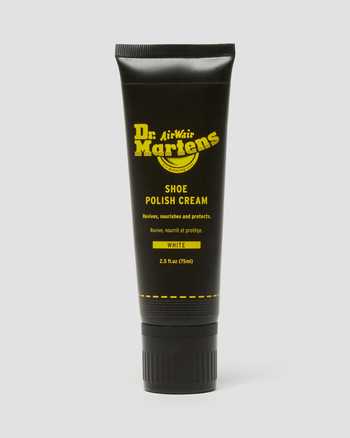
DR. MARTENS SHOE POLISH
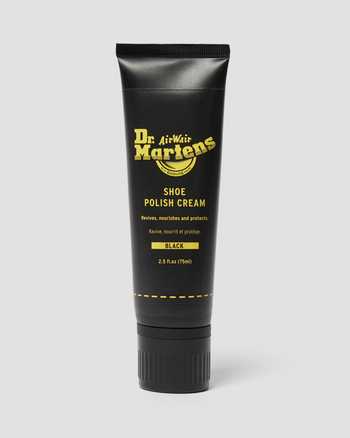
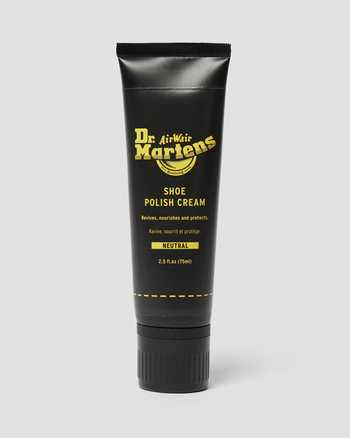
New look, same product. Coming with a sponge nozzle for simple application, our new Shoe Polish Tubes are built to restore, protect and rejuvenate in three colours: Black, Cherry Red and Neutral.
WITH A LITTLE BIT OF CARE, THEY’LL LAST EVEN LONGER

HOW TO WEATHER-PROOF YOUR FOOTWEAR
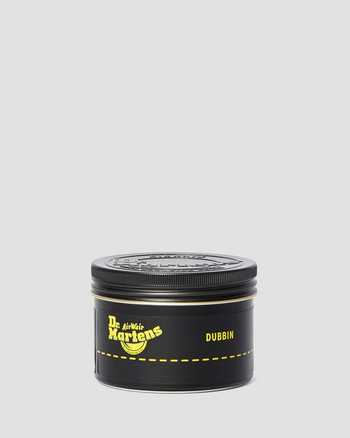
Our Dubbin Wax rejuvenates waxed and oiled leathers, and adds a water-resistant layer of protection. Here the Boot Doctor shows you how to use it.
Our Dubbin Wax rejuvenates waxed and oiled leathers, and adds a water-resistant layer of protection. Here the Boot Doctor shows you how to use it.

HOW TO PROTECT YOUR FOOTWEAR
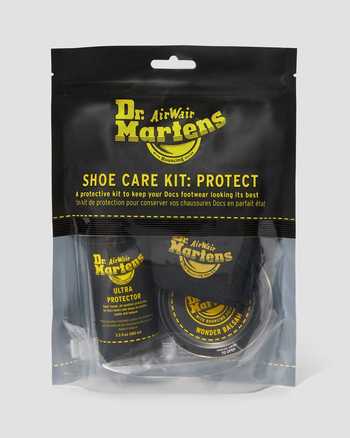
Create a layer of protection against scuffs and other wear and tear. Our Ultra Protector Spray can be used on leather, suede, nylon or canvas.
Create a layer of protection against scuffs and other wear and tear. Our Ultra Protector Spray can be used on leather, suede, nylon or canvas.

HOW TO CARE FOR SUEDE FOOTWEAR
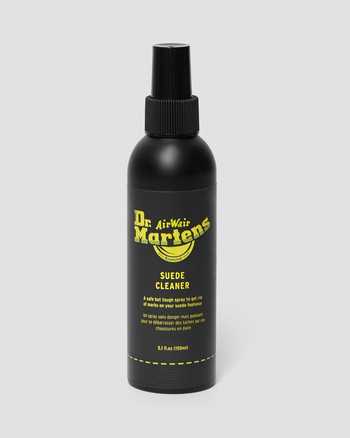
A bit of sprucing up will keep them looking fresh. Learn how to restore your suede shoes and boots to their former glory.
A bit of sprucing up will keep them looking fresh. Learn how to restore your suede shoes and boots to their former glory.


