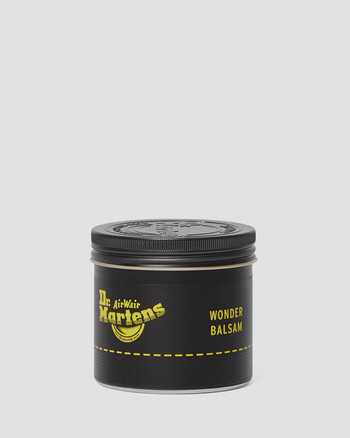
BOOT DOCTOR TIP: WONDER BALSAM CAN BE USED ON MOST SMOOTH AND WAXED LEATHERS.
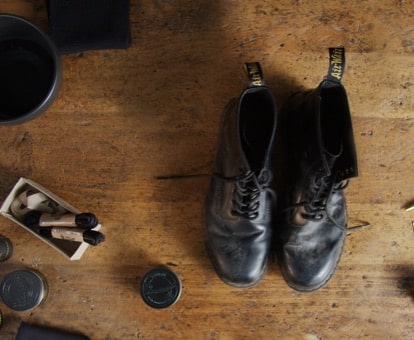
STEP 1: YOUR SHOECARE KIT
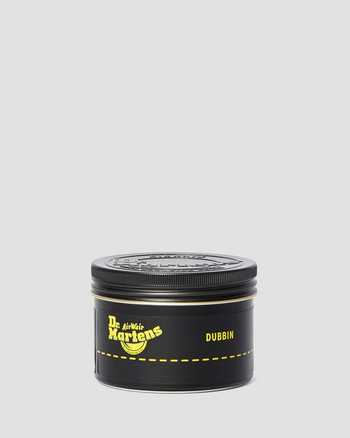
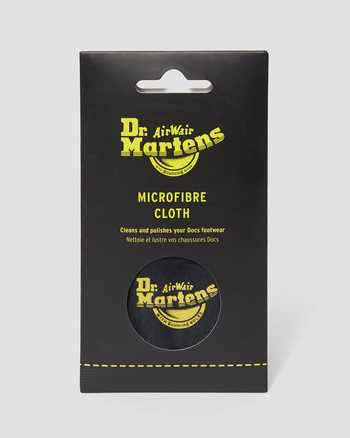
First up, find a surface that you don’t mind getting a bit of mud on, and assemble your kit. Cleaning your boots with balsam wax doesn’t take much. All you need is a couple of cloths, some water and a tub of Wonder Balsam. And 20 minutes of your time.
First up, find a surface that you don’t mind getting a bit of mud on, and assemble your kit. Cleaning your boots with balsam wax doesn’t take much. All you need is a couple of cloths, some water and a tub of Wonder Balsam. And 20 minutes of your time.
STEP 2: REMOVE DIRT
Your boots might need a bit of clean before you can get started. Give them a good wipe with a damp cloth. Remove your shoelaces and clean them separately, then dry the boots with a different cloth.
Your boots might need a bit of clean before you can get started. Give them a good wipe with a damp cloth. Remove your shoelaces and clean them separately, then dry the boots with a different cloth.
BOOT DOCTOR TIP: IF YOUR BOOTS HAVE LIVED A LITTLE, BANG THEM TOGETHER TO REMOVE EXCESS MUD FIRST.

STEP 3: GET STUCK IN
Take the sponge out of the Wonder Balsam tub and use it to scoop some wax out. Apply generously all over the boot, paying particular attention to any creases, the tongue and inside leather. Take care to really work it into the seams. Once the coating is even, leave to dry for 10 minutes.
Take the sponge out of the Wonder Balsam tub and use it to scoop some wax out. Apply generously all over the boot, paying particular attention to any creases, the tongue and inside leather. Take care to really work it into the seams. Once the coating is even, leave to dry for 10 minutes.
BOOT DOCTOR TIP: APPLY EXTRA WONDER BALSAM TO MINIMISE SCRATCHES, SCUFFS AND MARKS.
STEP 4: RE-LACE
At this stage, you can add your freshly-cleaned laces back to your boots. If the old ones are still looking knackered, treat yourself to a new pair. Why not try a different colour to make your boots your own? You’ll be amazed at the difference some new laces can make.
At this stage, you can add your freshly-cleaned laces back to your boots. If the old ones are still looking knackered, treat yourself to a new pair. Why not try a different colour to make your boots your own? You’ll be amazed at the difference some new laces can make.

STEP 5: FINISHING TOUCHES
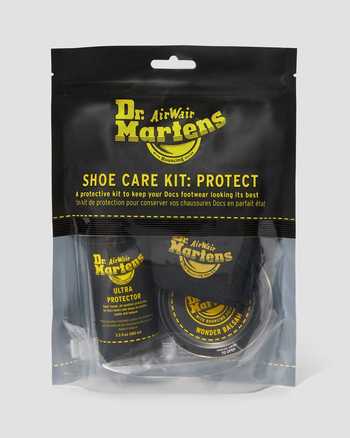
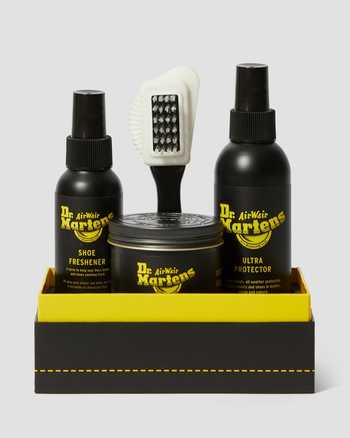
You're almost there. All that’s left are a few optional last touches. You can give your brushed-up boots a quick spray with Dr. Martens Ultra Protector for an added layer of protection. Or a squirt of Dr. Martens Shoe Freshener to remove any odours. And there you have it: your boots should be looking back to their best. Don’t leave it so long next time, eh?
You're almost there. All that’s left are a few optional last touches. You can give your brushed-up boots a quick spray with Dr. Martens Ultra Protector for an added layer of protection. Or a squirt of Dr. Martens Shoe Freshener to remove any odours. And there you have it: your boots should be looking back to their best. Don’t leave it so long next time, eh?


